
How to create strapi project tutorial # 1
Hey, Hey, Today we will learn how to use strapi. If you don’t know about strapi, I will not tell you about strapi.
I will get into dev part without any delay.
Here is the command, You will see and use everytime when you create new strapi project.
npx create-strapi-app@latest my-project --quickstart
strapi install
if my project name is quick shop ,
you can edit it like below
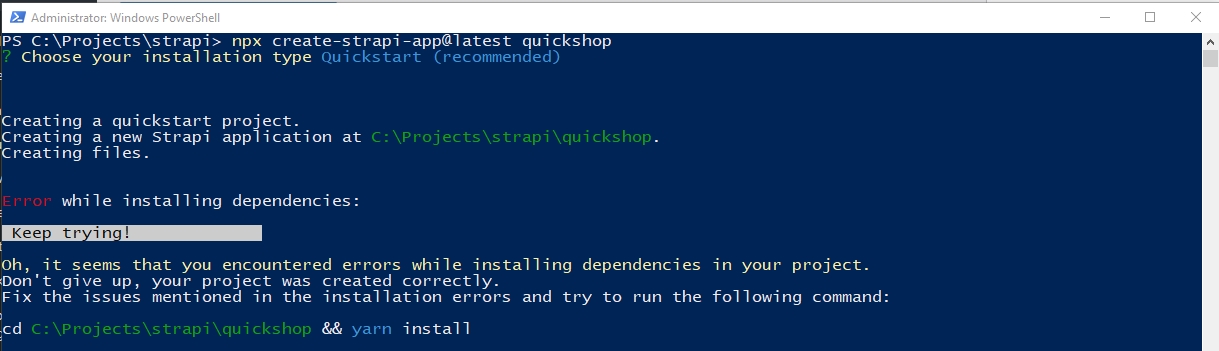
npx create-strapi-app@latest quickshop
after project completion..
change directory to your desired project
cd quickshop
Now you need to install all dependencies
npm install
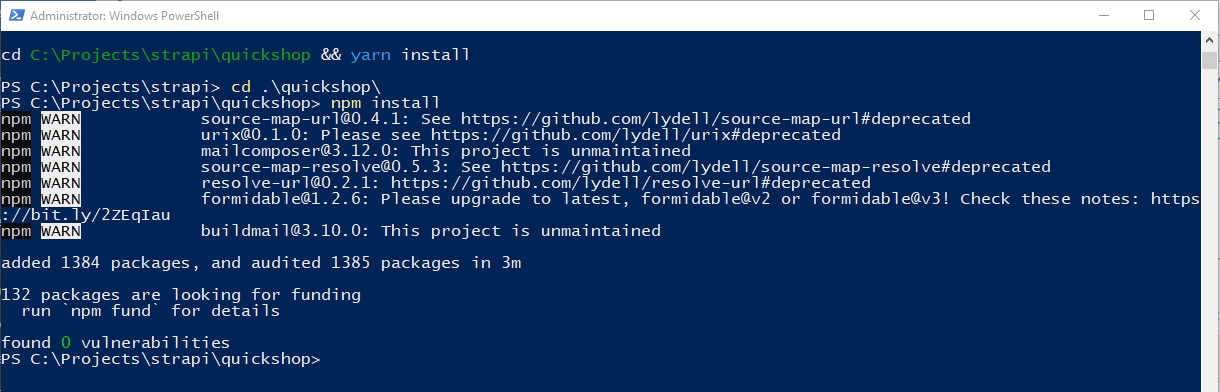
strapi-install-dependencies
Now all dependencies are install successfully. Now I will run the project in development mode.
You need to run the following command.
npm run strapi develop
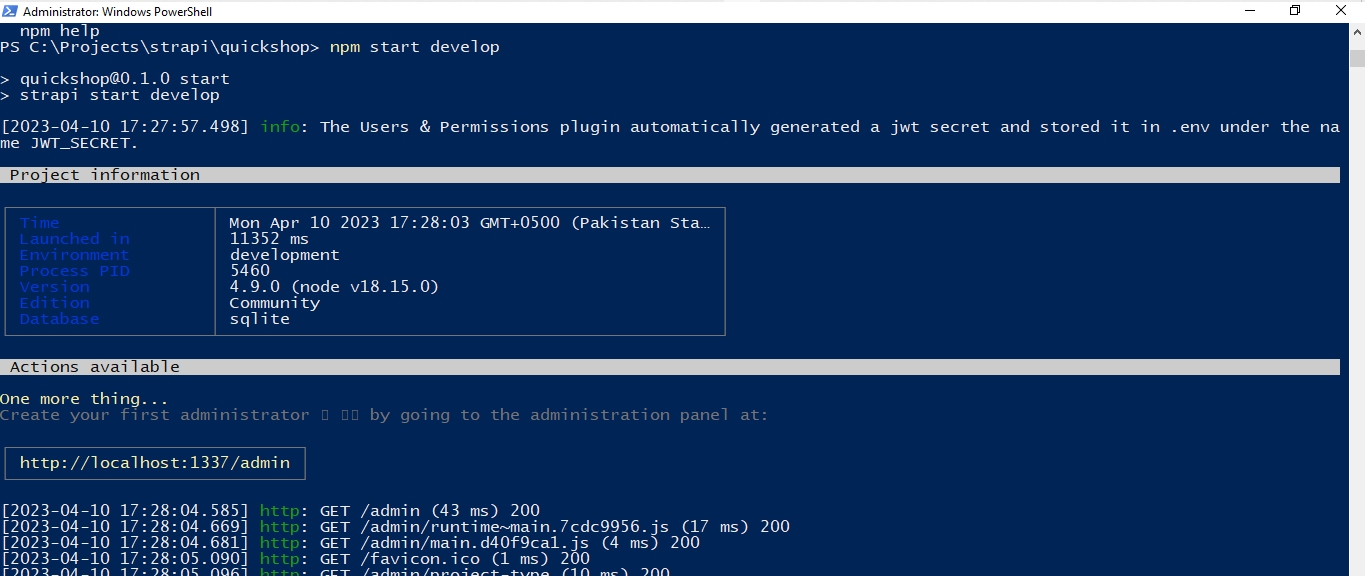
strapi-start-development-server
Our project is successfully started in development mode.
Now you can login easily to strapi, visit following path
http://localhost:1337/admin/
It will open admin panel/ dashboard for you.
But…But…
You need to register first.
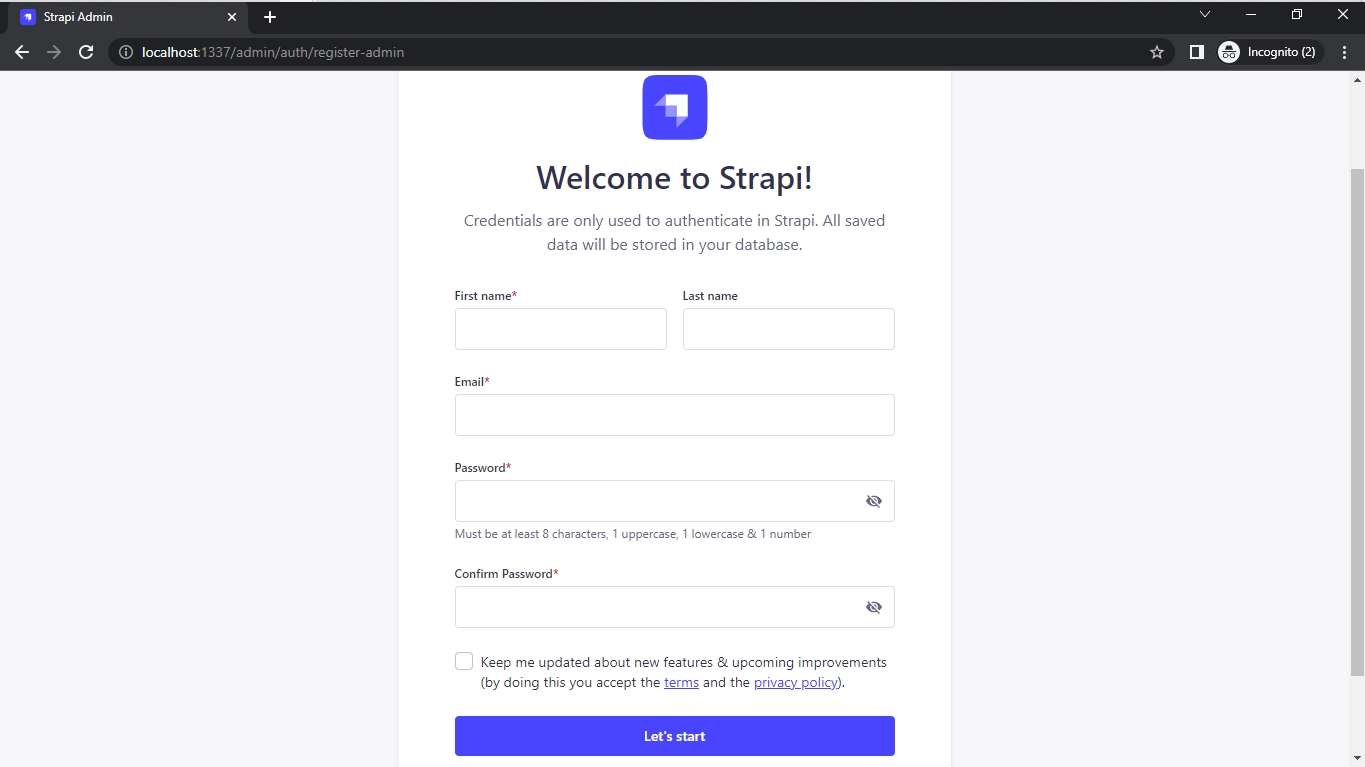
strapi-register-screen
Fill the form and you will be welcomed in dashboard.
You can see the following screen, before moving to dashboard.
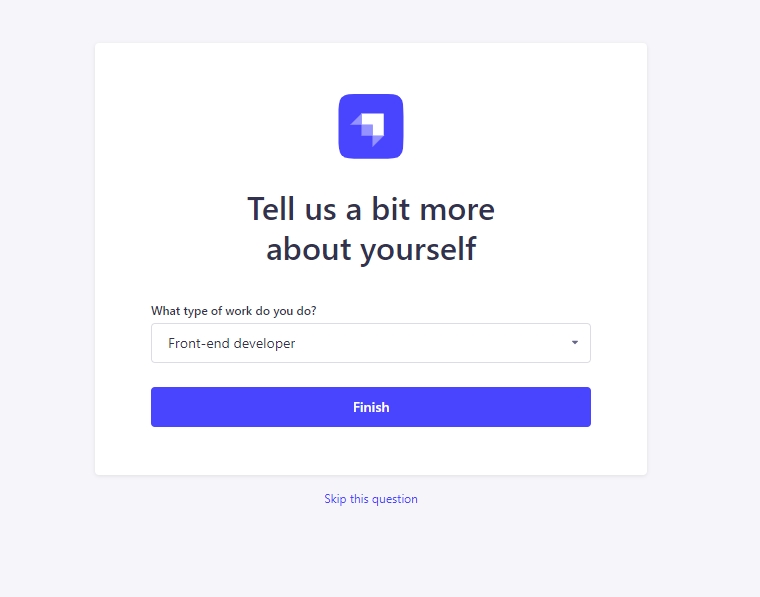
tell me more about yourself
Tell about yourself what you do or 2nd option is to skip this question. but I will answer it.
here is how the dashboard look like when I installed the project.
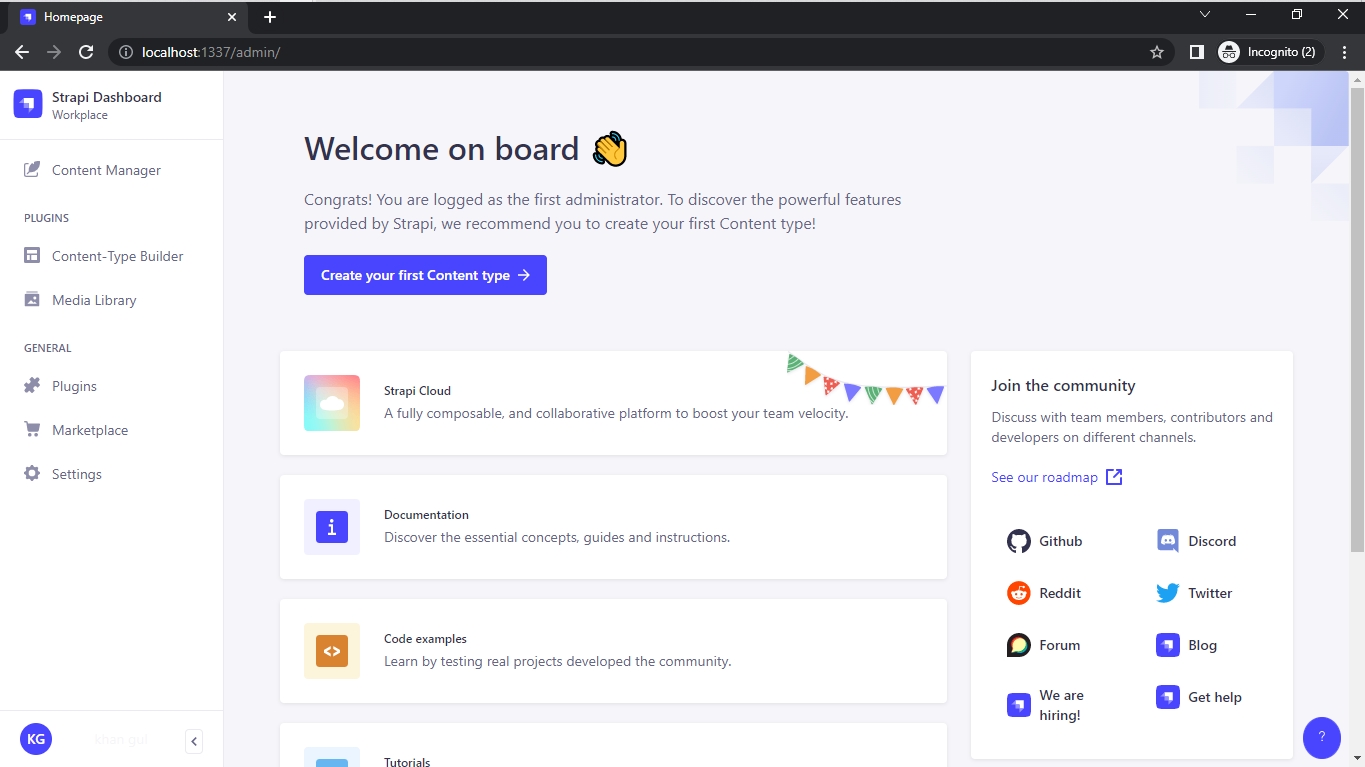
dashboard_strapi